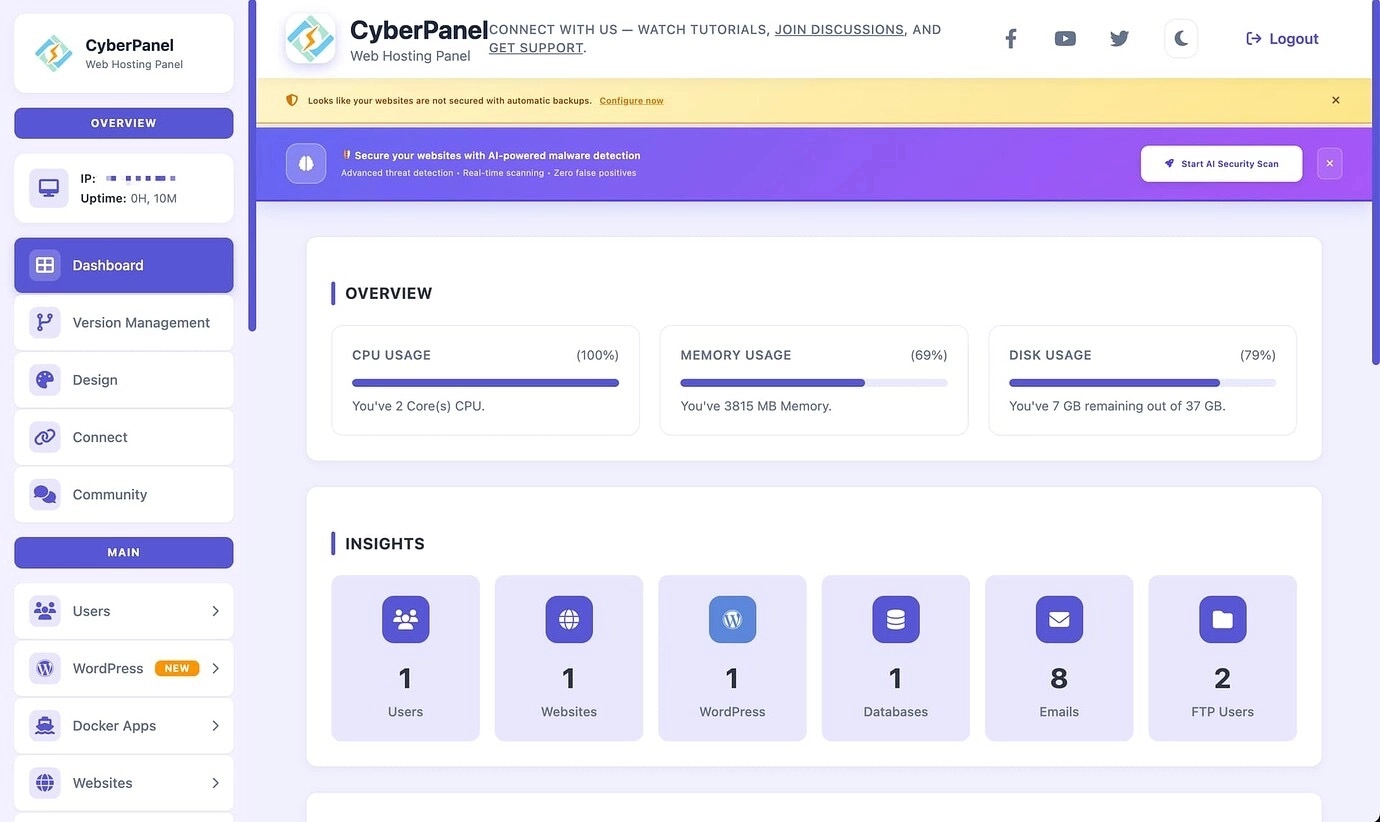
CyberPanel is fantastic. It offers a clean, good-looking interface, is stable, and just works, making it incredibly easy to install and manage OpenLiteSpeed.
However, it's not without its quirks. One notable pain point is its bundled MariaDB server...
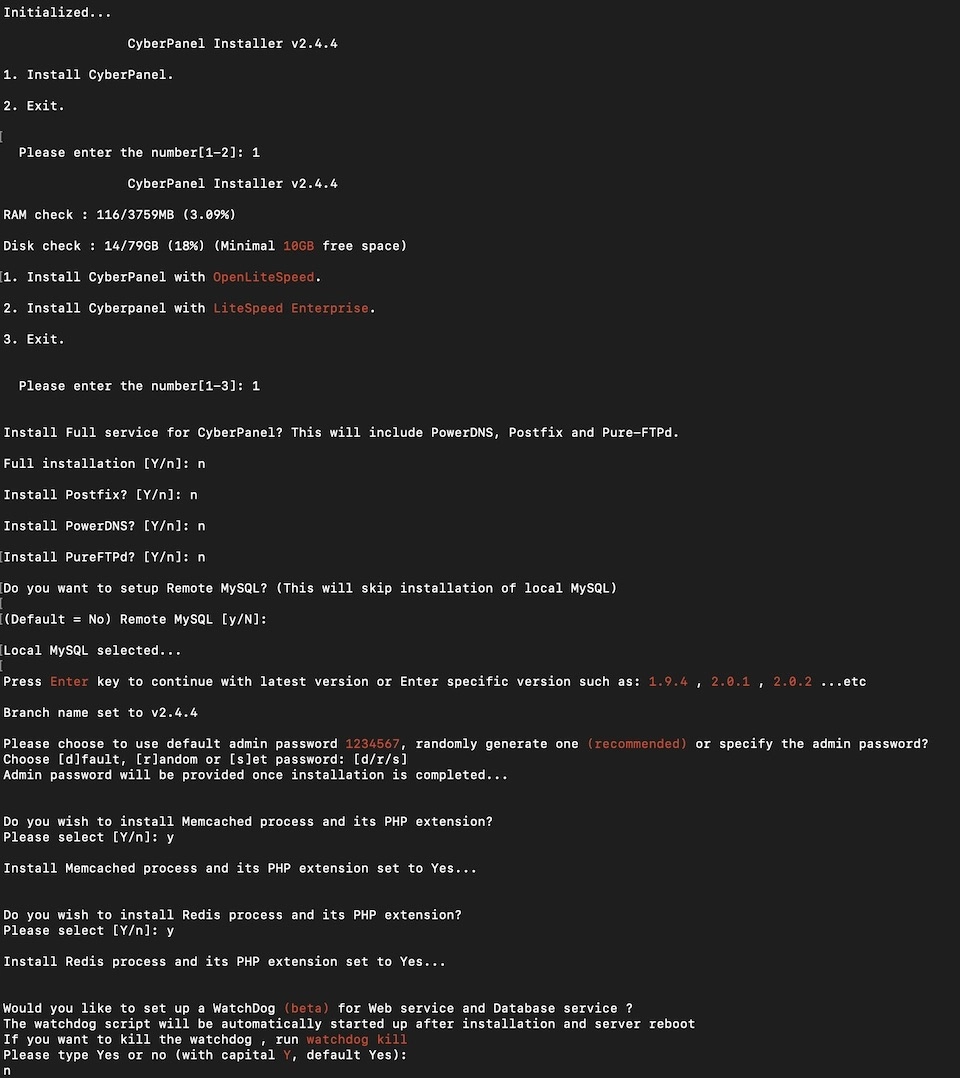
The installer does provide an option for a remote database server, but let's be honest, it's pretty much broken. For years, this bug has persisted—the connection just fails. There's nothing more frustrating than waiting through half an installation only to be greeted by an error, forcing you to start over. It really makes you want to have a... strongly worded conversation with the CyberPanel dev team.
(╯°Д°)╯︵ /(.□ . \)I finally devised a workaround and tested it successfully. So, here it is, documented and shared at MGREI.
Step 1: Prep Your Remote Database
First, make sure your remote MySQL/MariaDB server is set up and accessible. For this guide, let's assume the server IP is: 192.168.1.101
Note: I'm using a local network. For external networks, strongly consider using SSL connections (a topic for another day).
Database Host: 192.168.1.101
Database Name: cyberpanel      // It's safer not to change this
Database User: aaa             // Custom username
Database Password: bbb         // Custom password
Database Port: 3306            // Default is 3306, change if needed
Step 2: Install CyberPanel (Minimal Setup)
SSH into the server where you want to install CyberPanel.
cd /usr/local/src
sh <(curl https://cyberpanel.net/install.sh || wget -O - https://cyberpanel.net/install.sh)
Do NOT choose the "Full" installation. Answer 'Y' or 'N' to the other prompts. Crucially, select 'N' when asked to install MySQL. Also, if you're on a low-resource server, skip installing the "Watchdog" – it's too heavy.
Once the installation finishes, you can log in at:
https://your-server-ip:8090Step 3: The Core Modification - Three Key Files
We need to modify three critical configuration files:
/usr/local/CyberCP/CyberCP/settings.py/etc/cyberpanel/mysqlPassword/usr/local/CyberCP/public/phpmyadmin/config.inc.php
3.1 Migrate the Database
First, dump the local CyberPanel database. The password for the local 'root' user is in the settings.py file.
mysqldump -u root -p cyberpanel > /home/backup/cyberpanel_backup_$(date +%Y%m%d).sqlNow, SSH into your remote database server and import this backup file.
mysql -u root -p cyberpanel < cyberpanel_backup_$(date +%Y%m%d).sql3.2 Modify settings.py
Backup and edit the main Django configuration file:
cp /usr/local/CyberCP/CyberCP/settings.py /usr/local/CyberCP/CyberCP/settings.py.bak
nano /usr/local/CyberCP/CyberCP/settings.py
Around line 110, you'll find the database dictionary. Update the 'default' and 'rootdb' sections with your remote server's details. The 'root' password in the rootdb section seems to work even if not entirely accurate for the remote host, but it's best practice to use a valid privileged user.
DATABASES = {
    'default': {
        'ENGINE': 'django.db.backends.mysql',
        'NAME': 'cyberpanel',
        'USER': 'aaa',
        'PASSWORD': 'bbb',
        'HOST': '192.168.1.101',
        'PORT':'3306'
    },
    'rootdb': {
        'ENGINE': 'django.db.backends.mysql',
        'NAME': 'mysql',
        'USER': 'root',
        'PASSWORD': 'Your_REMOTE_DB_ROOT_Password',
        'HOST': '192.168.1.101',
        'PORT': '3306',
    },
}
3.3 Modify mysqlPassword File
This file stores the database root password used by CyberPanel for management tasks.
cp /etc/cyberpanel/mysqlPassword /etc/cyberpanel/mysqlPassword.bak
nano /etc/cyberpanel/mysqlPassword
Replace the password inside with the remote database server's root user password.
3.4 Lock the Config Files (Important!)
Prevent future CyberPanel updates from overwriting your changes by making these files immutable.
sudo chattr +i /etc/cyberpanel/mysqlPassword
sudo chattr +i /usr/local/CyberCP/CyberCP/settings.py
3.5 Configure phpMyAdmin (Optional)
To make phpMyAdmin connect to the remote server, edit its config file.
cp /usr/local/CyberCP/public/phpmyadmin/config.inc.php /usr/local/CyberCP/public/phpmyadmin/config.inc.php.bak
nano /usr/local/CyberCP/public/phpmyadmin/config.inc.php
Find and modify these lines to point to your remote host and a user with sufficient privileges (like root).
$cfg['Servers'][$i]['controlhost'] = '192.168.1.101';
$cfg['Servers'][$i]['controlport'] = '3306';
$cfg['Servers'][$i]['controluser'] = 'root';
$cfg['Servers'][$i]['controlpass'] = 'Your_REMOTE_DB_ROOT_Password';
Step 4: Configure Firewall Rules
Before restarting, ensure the CyberPanel server can talk to the DB server on port 3306.
Log in to the CyberPanel web admin (https://your-ip:8090). Navigate to Security -> Firewall. Add a new rule to allow traffic to your remote database:
192.168.1.101:3306PS: For Cloud Server Users (e.g., AWS, GCP, Azure, Alibaba Cloud): You should configure this rule in your cloud provider's Security Group or Firewall console instead. You can completely disable the local firewall (firewalld) if it conflicts with your cloud rules:
# Check status
systemctl status firewalld

# Stop the firewall service
sudo systemctl stop firewalld

# Disable it from starting on boot
sudo systemctl disable firewalld

# Verify it's disabled
sudo systemctl is-enabled firewalld  # should return 'disabled'
Step 5: Free Up Resources - Remove Local DB
Now for the best part: removing the local MariaDB to save precious resources! Your server can now focus on being a lean web frontend.
# Stop MariaDB
sudo systemctl stop mariadb

# Uninstall MariaDB packages
sudo apt purge -y mariadb-server mariadb-client mariadb-common mariadb-server-core-* mariadb-client-core-*

# Clean up
sudo apt autoremove -y
sudo apt autoclean

# (CAREFUL!) Remove database data directory
sudo rm -rf /var/lib/mysql/

# Remove leftover config files
sudo rm -rf /etc/mysql/
sudo rm -rf /var/log/mysql/
And that's it! You've successfully configured CyberPanel to use a remote database. No more worries about local database hassles or wasted resources!
Comments NOTHING